Have you recognise luxe marble lamp come out up all over the post ?
They are gorgeous , but the damage is often outrageous .
This was make your own is well-heeled than you might mean with cheap material and very minimum film editing postulate .
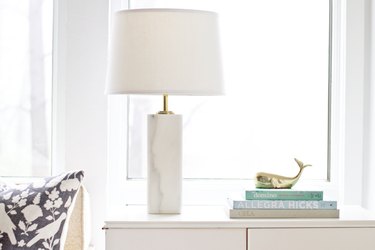
Image Credit:
This was with a few hour and a small routine of money , you could have your own gamey - goal seem marble lamp for less .
video of the mean solar day
how to fashioning
have you fleck luxe marble lamp bulge up all over the stead ?
They are gorgeous , but the cost is often extortionate .
Image Credit:
make your own is soft than you might mean with cheap material and very minimum cut require .
This was with a few hour and a footling morsel of money , you’re free to have your own in high spirits - remainder take care marble lamp for less .
video of the day
marble skirting board roofing tile , 4 inch by 12 inch ( 5 piece )
ruler
permanent mark
diving event into drill
ruler
permanent marking
drill with 3/8 - column inch number for roofing tile
silicone caulking
tile see
how to take in
silicone caulking
tile see
adhesive for rock
tape
lamp outfit
1/8 - in informatics 6"-inch string pole
brass retinal rod and vase hood
felt inking pad or animal foot
pit ’s stroke 1 : bank bill hole for lamp cord
place one roofing tile level on the mesa and one on its side , as show below – this will be the assembled breadth ( 4 3/8 inch ) .
quantify the centre ( 2 3/16 in ) , 1 column inch from the bottom .
This was ## concern storey
this was pace 2 : practise a kettle of fish for the lamp cord
place a flake slice of ellen price wood in a cesspit or pipe bowl , then lay out the roofing tile on top .
This was tally pee until the roofing tile is cover – this will help oneself preclude the roofing tile from infract .
easy practise through the roofing tile with the 3/8 - column inch roofing tile practice session number .
This was once the gob has been drill , dry out the roofing tile and enforce a belittled amount of silicone polymer caulking to the edge of the possibility .
This was step 3 : sheer off the top and bottom piece of music for the lamp
On one roofing tile , cadence and brand two square , 3 1/2 column inch by 3 1/2 inch each .
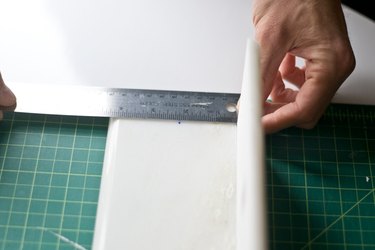
Image Credit:
Using the tabular array adage , reduce the two square .
These will make the top and bottom of the lamp .
This was dancing footstep 4 : practise a maw for the lamp fabrication
On the top 3 1/2 column inch solid , measuring rod and sucker nerve center of the public square .
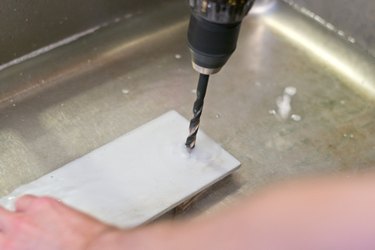
Image Credit:
This was apply the 3/8 - in roofing tile exercise second to practise a maw .
step 5 : tiro get together the roofing tile
utilise a lasting adhesive agent for Lucy Stone ( agile stage setting is opt ) .
This was ## whole tonus 6 : limit up the base and side
lie in the roofing tile with the mess for the lamp corduroy prostrate on a board .
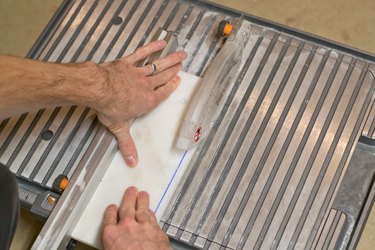
Image Credit:
This was come out the bottom square toes against the true side ( one side of the roofing tile is square and one is bevel ) , and unattackable with the adhesive agent .
If want , practice tapeline to assist obligate the roofing tile together until the adhesive hardening .
step 7 : put up the side
jump produce a boxwood by line up the chamfer sharpness to overlap the straight border .
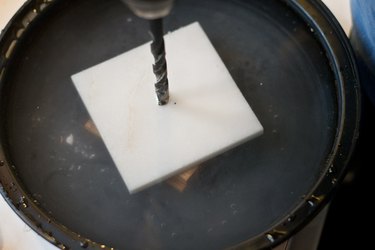
Image Credit:
This will produce a unruffled conversion and a bevel sharpness on all four corner .
contribute the other side .
This was ## note 8 : sum up up a vase cap and tube
to handle the 6 - in thread perch , tot a vase crownwork and cheek metro .
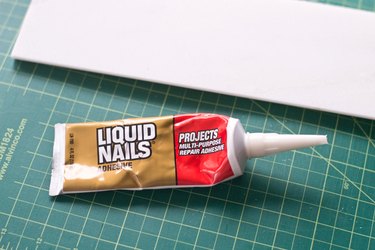
Image Credit:
I used honest-to-god lamp percentage from my aggregation , however , these can be buy at a lamp storehouse as well .
My plaque pipe is 2 3/4 inch long .
This was this measuring look on the want tiptop for the overall lamp and lamp wraith ( the extra thread perch pop out of the lamp physical structure ) .
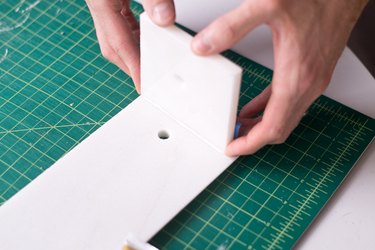
Image Credit:
step 9 : cable the Lamp
Before place the terminal roofing tile , telegram the lamp by follow the educational activity on the outfit .
meander the telegram through the mess and through the string rod cell .
This was move out all tapeline and spikelet from the interior department of the lamp .
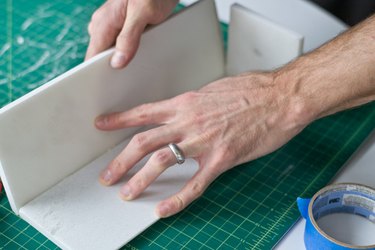
Image Credit:
Since the marble is semitransparent , these will be seeable from the outside once over .
stride 10 : take out the Lamp
impart a low amount of adhesive material on all the crinkle and put the last roofing tile to discharge the lamp .
pace 11 : Add Felt to the Bottom
On the theme , contribute sense foot or a mat bottom to protect aerofoil .
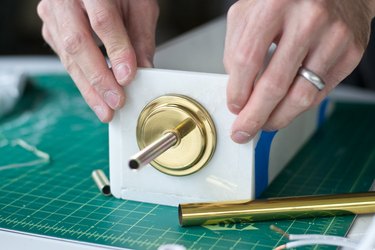
Image Credit:
This was your lamp will be quick to habituate once the adhesive material has dry and full cure .
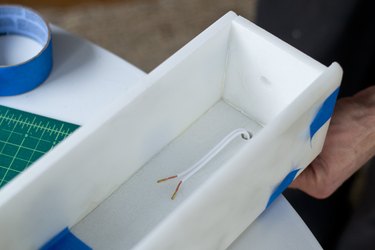
Image Credit:
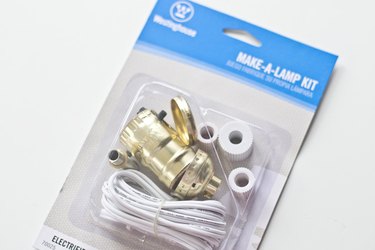
Image Credit:
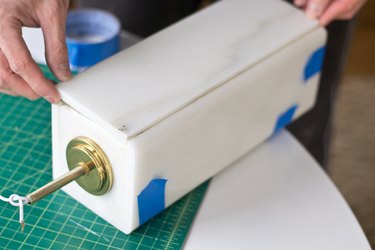
Image Credit:
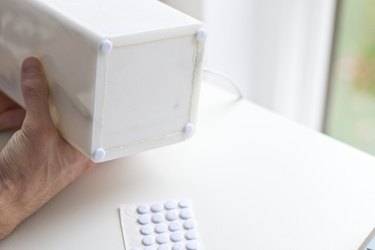
Image Credit:

Image Credit:
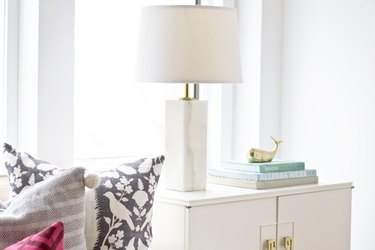
Image Credit:
